Server side rendering need lots of configuration to get up and running if you choose to use boilerplate which is filled with package that you may not need, well next.js is developed to solve this problem and it makes server-side rendering in React a breeze
What you will learn in this article
- Get up and running with Next.js
- Add Client-side transitions between routes
- How to do handle Ajax in Next.JS
- create reusable component for
rendering Layouts
To get started with you need two things Nodejs and yarn installed
you can do that by typing npm install -g yarn
Get up and running with Next.js
Step #1
create an empty package.json file by typing
yarn init -y
and then installing three packages next, react, react-dom
yarn add next react react-dom
Step #2
Add scripts in package.json file


 “scripts”:{
     “dev”:”next”,
     “start”: “next start”,
     “build”: “next build”,
     }
Step#3
we would need two folder pages and static
-
Each file in pages folder represent two thing name of file act as route and file code represent React component code
Static folder where we will keep static files like images etc -
let start by creating first index route and component
create filename index.js in pages folder this file will act as a entry point for our project
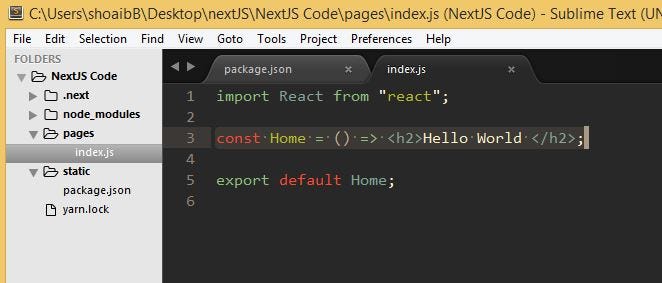
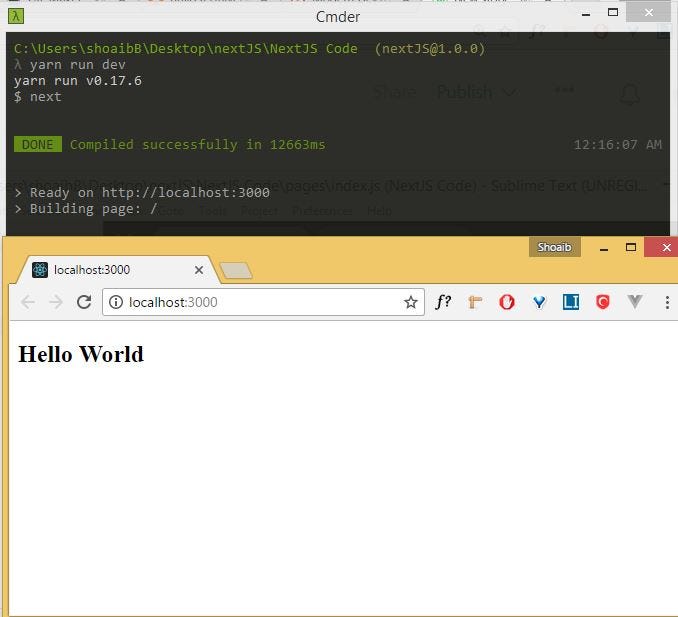
and run script yarn run dev which starts up the server and you will see Hello World text on screen
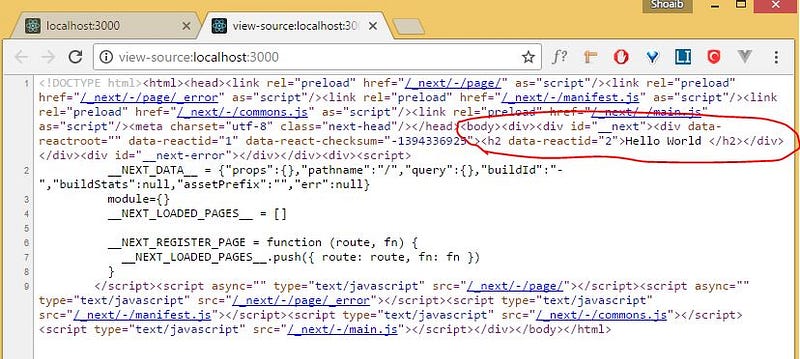
and if you see page source you will see hello world div tag which proves that it is indeed server rendered
ok let do something a bit more interesting by creating Client-side routing
create one file in pages folder name about.js, we would need Link component for routing which we can import from “next/link”
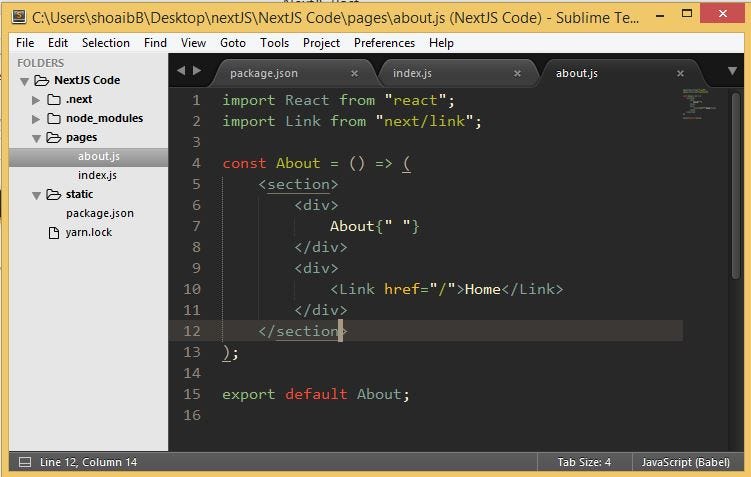
we let do same with index component and add a link to About component
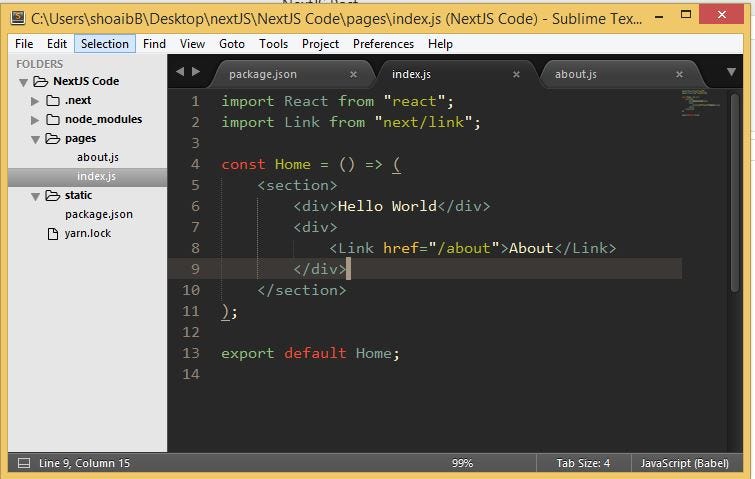
if you are seeing delay in transitioning between component you remove that delay by simple adding prefetch attribute to Link component like so
<Link prefetch href='/'><a>Home</a></Link>

Transition between routes
if you want read more on next.js Please read my meduim Article here
Thanks

