
Continuous Integration(CI) and Continuous Deployment(CD) play an essential role, especially when working in a team. In our project, we are following Agile methodology & we do multiple releases during the week. To ensure that the build is generated without any error, CI/CD proves advantageous.
"There should be two tasks for a human being to perform to deploy software into a development, test, or production environment: to pick the version and environment and to press the “deploy” button."
David Farley
For every feature, we create a separate pull request. Every time on commit, CI automatically triggers the auto-build & executes all the test cases. Meanwhile, the team is notified of every single process, so that in case of any failure or bug, it can be fixed on the fly.
Continuous Deployment is closely related to Continuous Integration and refers to the release into production of the app that passes the set deployment criteria.
"Essentially, it is the practice of releasing every good build to users”
Jez Humble
In our project, we have configured it with Google Play Store so that our Android app automatically gets published whenever any pull request is merged. It reduces manual intervention to a great extent. With the help of Azure Continuous Deployment, we managed to reduce too many manual tasks such as:
- incrementing the build number in
build.gradlefile - generation of signed APK file in the Android Studio
- uploading of the mapping file
- update the what's new section of the Play Store for the new build
- uploading of latest APK in the Play Store
Let's dive deep into the process to configure CI & CD. For better understanding, I have divided the entire course of action into two parts:
A. Continuous Integration
The following steps describe how to configure CI in the Azure pipeline. To setup pipeline,
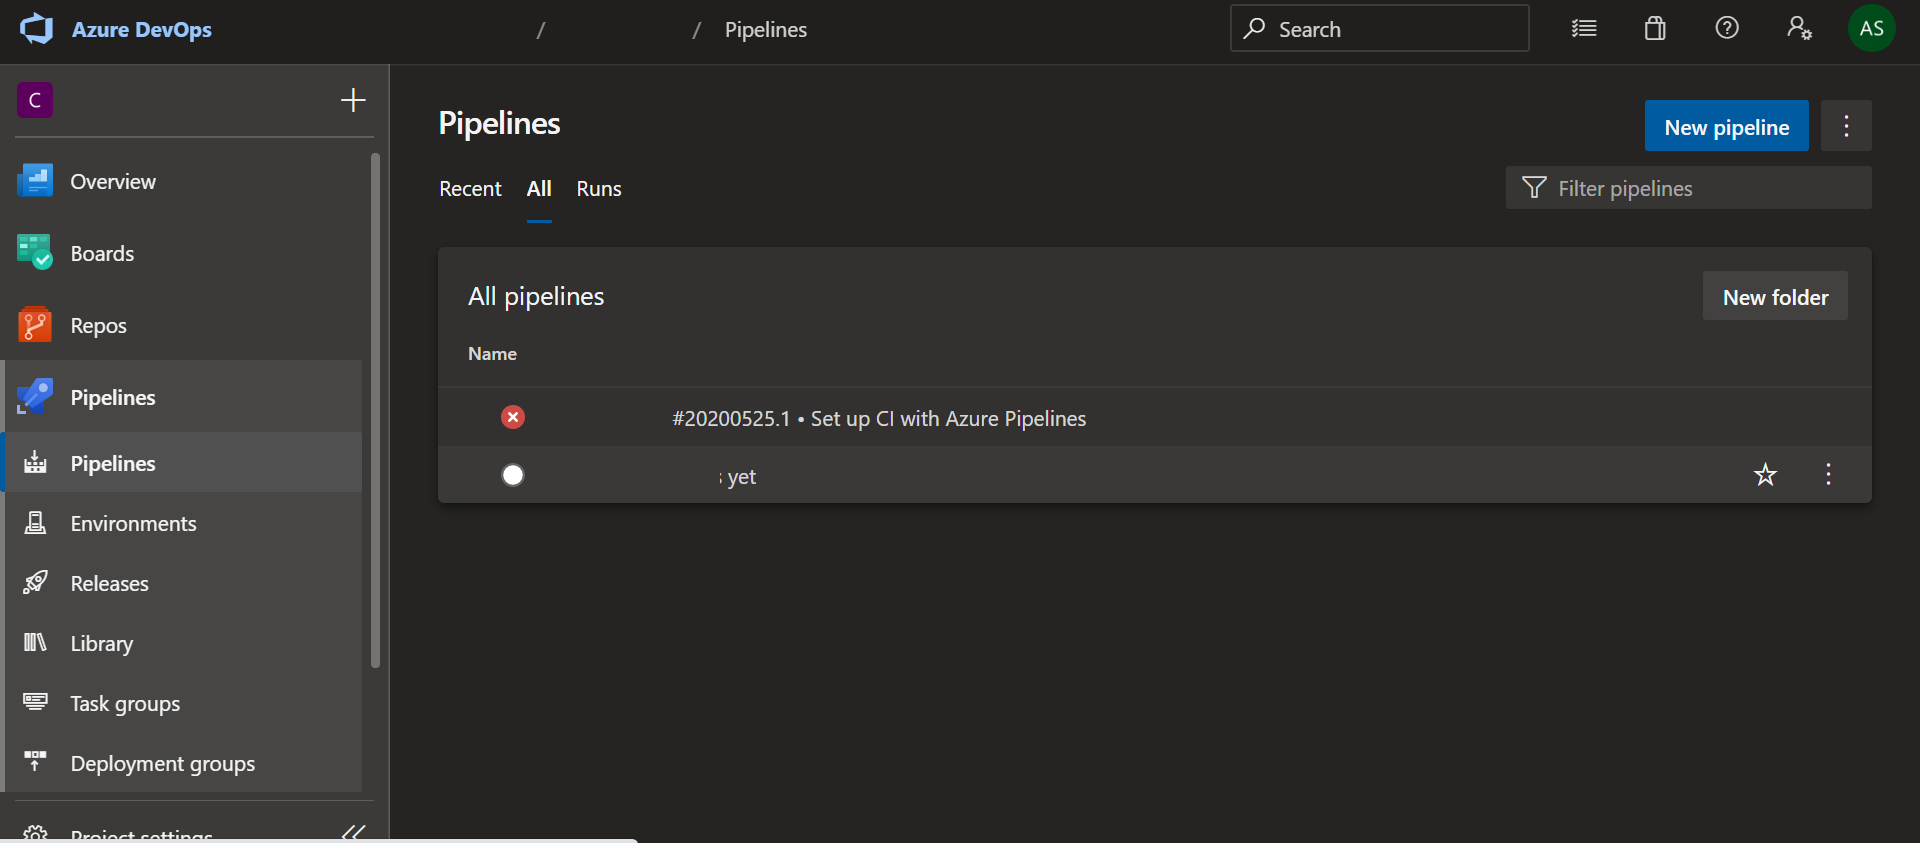
- Select Pipeline from the menu
- Click on New pipeline button
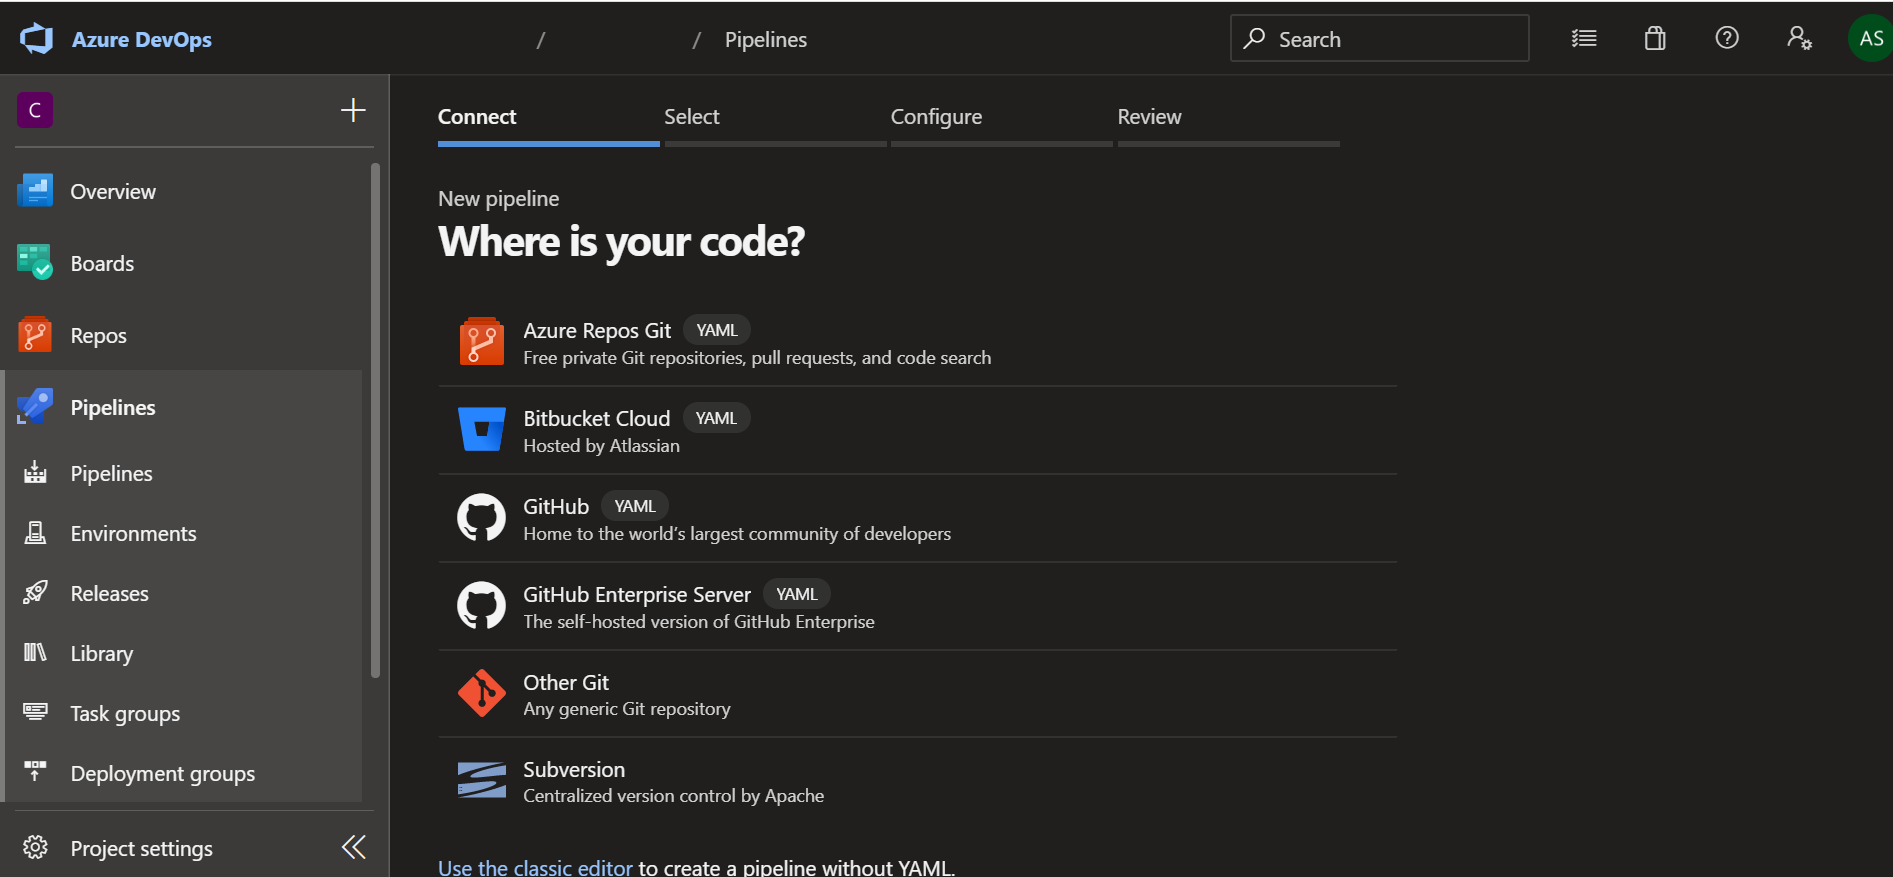
- You can choose between various options like Azure Repository, Bitbucket, Github, and many more, where your code base is. I have chosen Azure Repository.
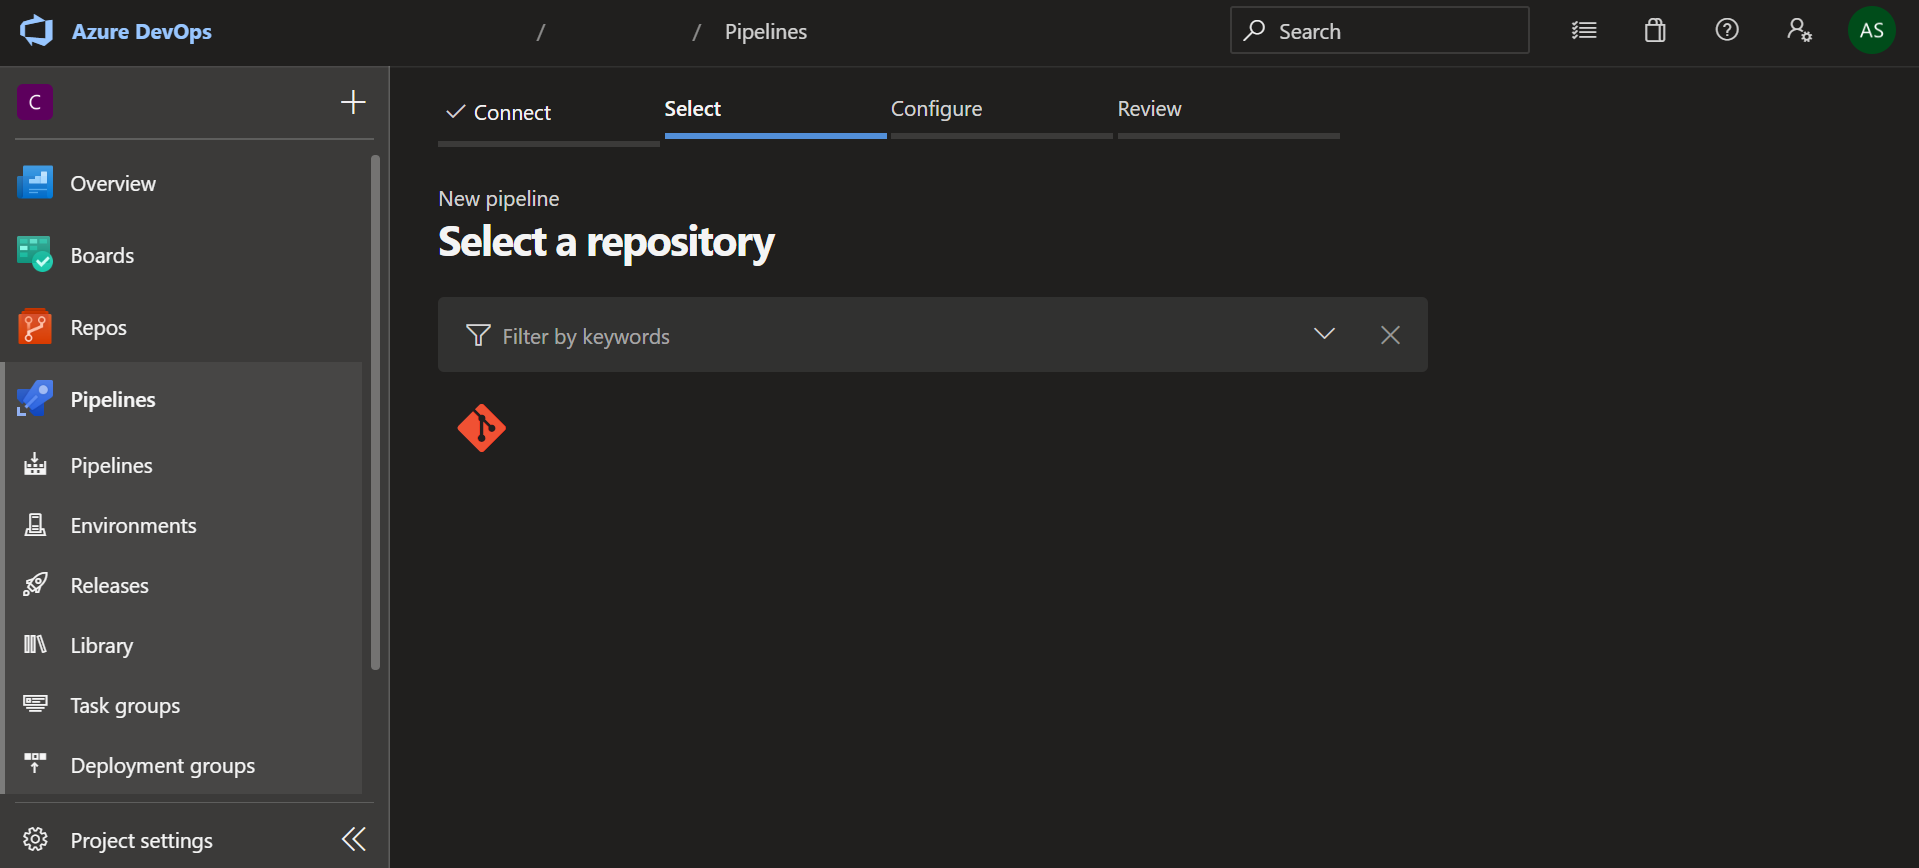
- Select the Repository name, after selecting the repository location
- Select Android project from the list
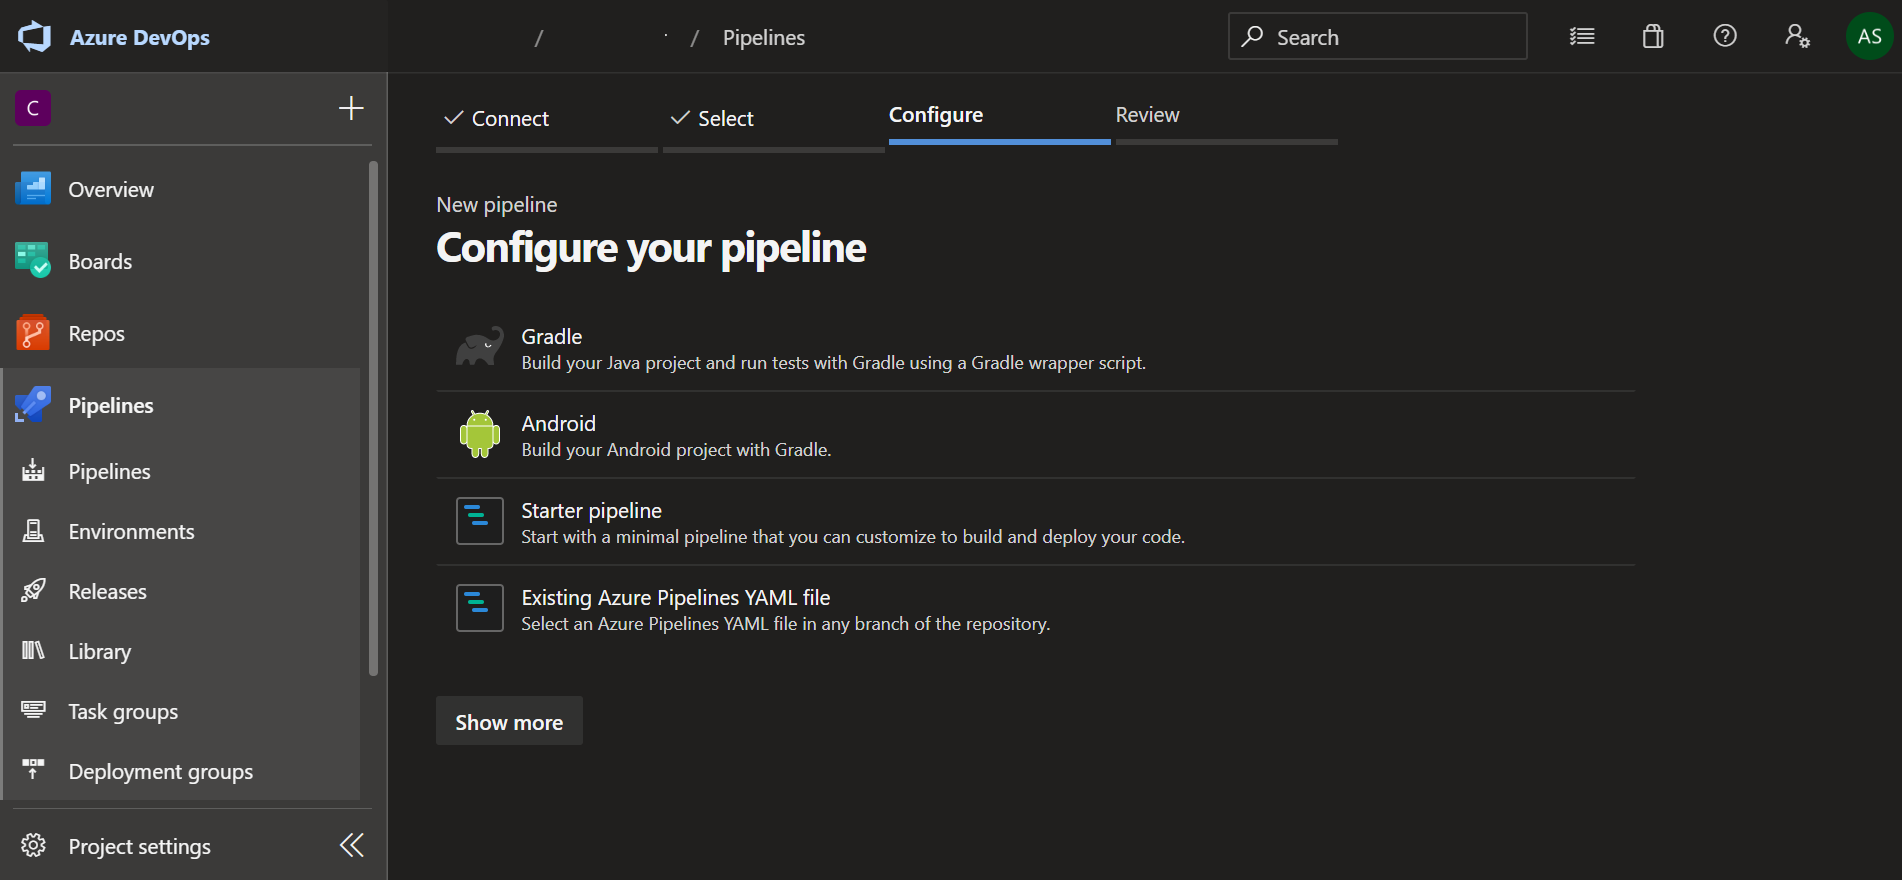
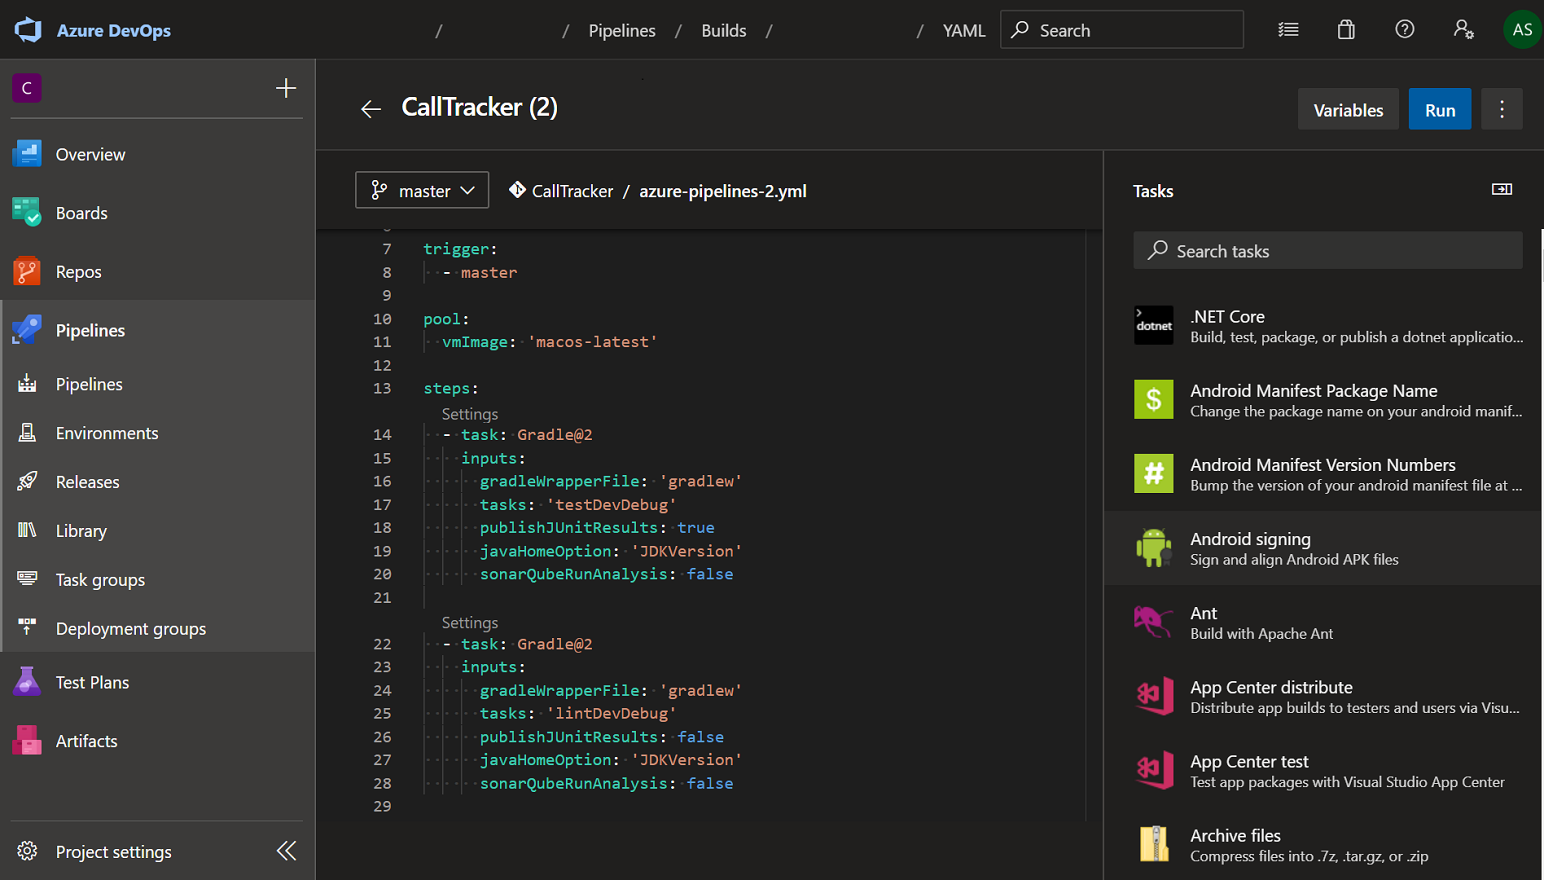
After selecting Android from the list, it generates a .yml file. Using this file you can configure your build settings. Various configurations can be made through this file such as if you want to configure the trigger branch, you can add trigger tag and mention the list of branches under it. This means auto-build will be triggered only when the changes are performed on these particular branches.
In the .yml file, we can add multiple tasks that we want to execute during the build operation. We have added the following tasks
- execute unit test cases
- generate android lint report
The inclusion of the tasks mentioned above benefited us in various ways. We get to know if we have any failing test cases, as all the unit test cases execute after every commit. It gave us the flexibility to fix all the failures as soon as the code is deployed.
B. Continuous Deployment
Auto deployment is performed through the Release option of the Azure pipeline. With the help of Azure release option, we are publishing our app in Google Play store. The following steps are required to configure Azure Release
- Click Release under the Pipeline option
- Select New pipeline option
- Add Artifact, then select source type. We have selected Azure Repository.
- Select Project, then select Repository & then the default branch for checkout. After all the selections, click on Add option
To configure a CD trigger, click on the trigger icon⚡️. This helps us to configure various trigger options. In our case, we are setting the trigger whenever any pull request is merged. We must select at least one target branch. A target branch is a branch for which we want the trigger to activate. It enables the trigger action to only perform whenever any change occurs in that particular branch.
After configuration of the Artifacts, we need to configure Stages & for that you have to click Add Stage option. Stages are the primary divisions in your release pipeline. We are using deploy to qa & deploy to pre-production in our project. Generally, every project has different environments & we have created different stages for each environment. There are two ways to configure stages. Apart from the classic way, YAML can also be used to configure stages. We have used YAML for our project. Each stage can contain multiple tasks that are useful for deployment.
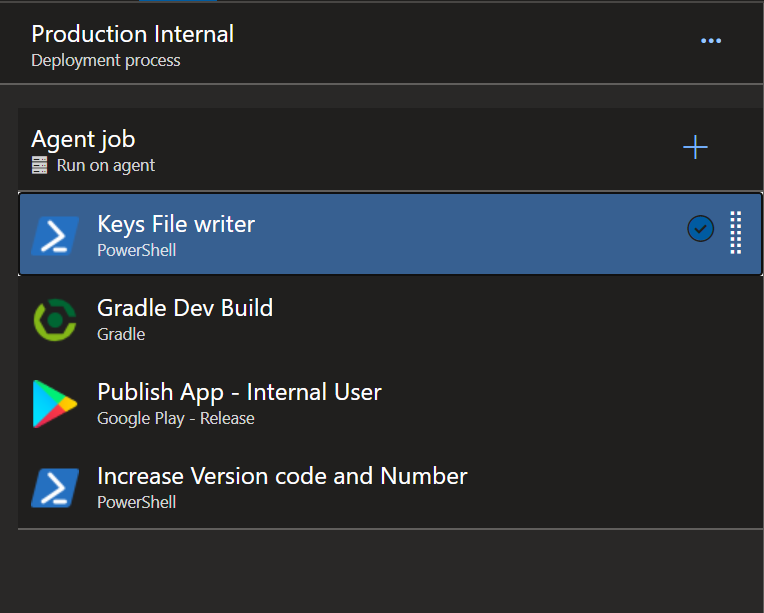
-
PowerShell task to create credential file
We are generating signed APK through Gradle tasks. It requires a key store file and various other credentials to complete this task. Due to security reasons, we have not stored this in the
build.gradlefile. We are using Azure release variable to store values like key store password, alias name, version name and version code. This task reads the values from the Azure variable and writes the values in the text file. We have written the following PowerShell script for the same.
Note: To execute the following code you must enable scripts and other processes launched by the tasks to access the OAuth token through the system. To enable this, click on Agent Job under task & after that check the Allow scripts to access the OAuth token option available in the Additional Option Section.
url = "$($env:SYSTEM_TEAMFOUNDATIONSERVERURI)$env:SYSTEM_TEAMPROJECTID/_apis/Release/defin>itions/$($env:RELEASE_DEFINITIONID)?api-version=5.0-preview.3"
Write-Host "URL: $url"

$StringValue = Invoke-RestMethod -Uri $url -Headers @{Authorization = "Bearer $env:SYSTEM_ACCESSTOKEN"}
Write-Host $StringValue

$jsonString =  "$($StringValue | ConvertTo-Json -Depth 100)"
Write-Host $jsonString

$json = $jsonString | ConvertFrom-Json

Write-Host $json
$alias = $json.variables.KeyAlias.value
$keyStore = $json.variables.StorePassword.value
$keyPassword = $json.variables.KeyPassword.value

Set default path using powershell UI Working Directory
$OFS = "\r \n"
$dot = "."
$fabricContent = (-joint ("apiSecret=", $fabricSecretKey, $OFS, "apiKey=", $fabricApiKey))
set-content fabric.properties $fabricContent

$keyContent = (-joint ("keyAlias=", $alias, $OFS, "keyPassword=", $keyPassword, $OFS, "storePassword=", $keyStore))
set-content key.properties $keyContent

$prodCode = $json.variables.ProdVersionCode.value
$prodMajor = $json.variables.ProdMajorNumber.value
$prodMinor = $json.variables.ProdMinorNumber.value
$prodPatch = $json.variables.ProdPatchNumber.value
$prodVersionName = (-joint ($prodMajor, $dot, $prodMinor, $dot, $prodPatch))

$versionContent = (-joint (
"PROD_VERSION_CODE=", $prodCode, $OFS, "PROD_VERSION_NAME=", $prodVersionName))
set-content version.properties $versionContent
get-content key.properties
get-content version.properties
- Gradle task to generate the build
There are two build types supported in Android – APK & AAB
-
With the help of
assemblecommand of Gradle, we are generating signed APK. Currently, we have different sets of this command which depends on app flavor likeassembleDev. Here,Devdenotes our build variant. -
To generate the signed AAB,
bundlecommand of Gradle should be used. ForDevbuild variant,bundleDevshould be used.
We are using version 2.0 of plugin for this Gradle task.
-
Google Play Store task to publish app
This task plays a vital role in Continuous Deployment. With the help of this, we are publishing apps in the Google Play Store. In other words, this task is picking the APK file generated by the previous task i.e. gradle task, and uploading to the Play Store. To upload the APK from this task, you must require a service account. Only the primary account owner can create a service account in Google Play Console. I have added a link in the reference section which describes the procedure of creating a service account in the Google Play store. We are currently using version 3.0 of this plugin. With the help of it we can set app track like Internal, Alpha, Beta, or Production.
-
PowerShell task to increase version code
This is another PowerShell task which we are using in Continuous Deployment. As mentioned above, PowerShell task is used to write version code & the version number into a text file. Similarly this task is used to update version code & the version number in an Azure variable. The following code is used to update various values in an Azure variable.
$url =$($env:SYSTEM_TEAMFOUNDATIONSERVERURI)$env:SYSTEM_TEAMPROJECTID/_apis/Release/definitions/$($env:RELEASE_DEFINITIONID)?api-version=5.0-preview.3"
Write-Host "URL: $url
$pipeline = Invoke-RestMethod -Uri $url -Headers @{
    Authorization = "Bearer $env:SYSTEM_ACCESSTOKEN"
}

Write-Host "Pipeline = $($pipeline | ConvertTo-Json -Depth 100)"

Write-Host "$($env:SYSTEM_TEAMFOUNDATIONSERVERURI)"

$NewVersionCode = $(ProdVersionCode) + $(VersionOffset)

$NewPatchNumber = $(ProdPatchNumber) + $(VersionOffset)

$pipeline.variables.ProdVersionCode.value = $NewVersionCode
$pipeline.variables.ProdPatchNumber.value = $NewPatchNumber

$json = @($pipeline) | ConvertTo-Json -Depth 99

$updatedef = Invoke-RestMethod -Uri $url -Method Put -Body $json -ContentType "application/json" -Headers @{Authorization = "Bearer $env:SYSTEM_ACCESSTOKEN"}
After implementing the above steps, we were able to deploy the build automatically & hassle-free.
I would like to sum up with a few benefits of Azure-Pipeline in brief
- The entire team is aware of the build progress
- Autorun of Unit tests, give an early indication of any issues
- Help publishing app to Google Play Store smoothly
- Saves a lot of deployment time
- No manual intervention, auto-increment of build number & auto-generation of signed apk build
We hope this post helped you. Please share it with your peers & feel free to drop your query or feedback in the comment section.
Thank you!
References