
If you are working with any JavaScript application, you might have come across a module called Webpack. Webpack is a tool that bundles all the static modules for JavaScript applications.
In order to understand how webpack works, following are the 5 basic principles to understand, namely Entry, Output, Loaders, Plugins, Mode. Let us understand different ways through which we can achieve a better build performance which results indirectly in better application performance.
Note: Here we are using webpack version 5
1. Caching
Webpack provides support for caching the build files generated to improve the build speed.
We can achieve this by providing a cache option set to true in the webpack.config.js file.
By default, caching is disabled in production mode.
//webpack.config.js
module.exports = {
    //...
    cache: true,
};
We can use the following configurations to implement caching so that Webpack understands if there are any changes in the files and update only those files which are updated.
Below are the different ways to achieve caching:
Substitutions
If we have multiple bundles as output files (due to either code-splitting, multiple entry points, etc.) we will need to give the output files a unique name. This can be achieved by using substitutions. Substitutions can be the name, id, or even content hash of the output file.
module.exports = {
    output: {
        path: path.resolve(__dirname, "dist"),
        filename: '[name].bundle.js'
    },
}
You can even use a combination of substitutions, like this:
module.exports = {
    output: {
        path: path.resolve(__dirname, "dist"),
        filename: '[name].[contenthash].bundle.js'
    },
}
This will still give us a new file for every new build because the webpack includes boilerplate in the entry chunk. Hence, we will need to separate these out from the chunk to achieve caching.
Extract Boilerplate
Webpack supports extracting runtime code by creating a separate chunk file using the optimization.runtimeChunk configuration. We will separate all the third-party/vendor runtime chunk files from our main chunk.
module.exports = {
    optimization: {
        runtimeChunk: 'single',
        splitChunks: {
            cacheGroups: {
                vendor: {
                    test: /[\\/]node_modules[\\/]/,
                    name: 'vendors',
                    chunks: 'all',
                },
            },
        },
    },
}
Module Identifiers
Lastly, the addition of a new module results in an update of a hash of all the current chunk files. This is because each of the module IDs is incremented based on the order of resolving them. We would want to avoid update of vendor chunks as they remain the same while our main and runtime chunks might get updated due to the addition of a new module. This can be achieved by optimization.moduleIds
module.exports = {
    optimization: {
        moduleIds: 'deterministic', //Added this to retain hash of vendor chunks.
        runtimeChunk: 'single',
        splitChunks: {
            cacheGroups: {
                vendor: {
                    test: /[\\/]node_modules[\\/]/,
                    name: 'vendors',
                    chunks: 'all',
                },
            },
        },
    },
}
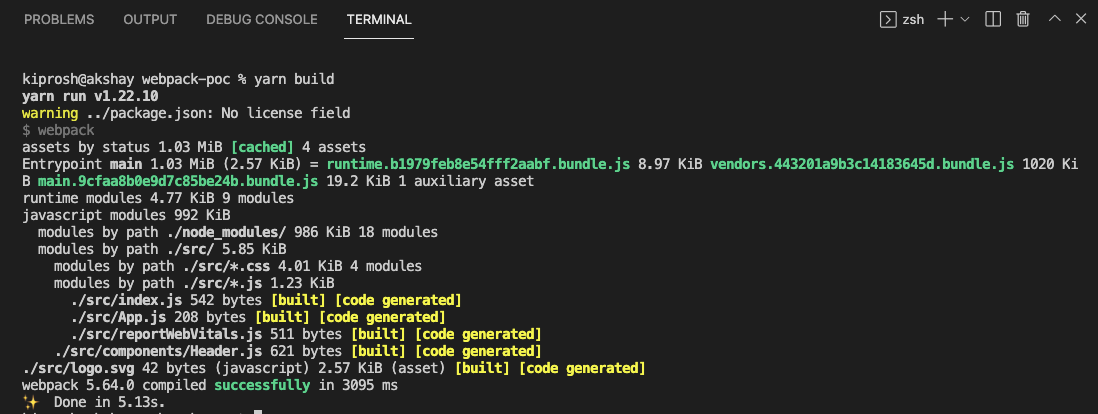
Adding up all the configurations together and running the build, we get the following outcome:
2. Code Splitting
Code splitting is a feature provided by webpack to split your code into multiple bundles which can be used on-demand. Code splitting results in reduced bundle size which can help us in improving the load time, hence, improving the performance.
Below are the different ways to achieve code-splitting:
Specifying entry Points
This approach is the easiest way to achieve code splitting. In this approach, we have to specify multiple entry points in the application which can be used to create separate chunks for respective entry points of smaller sizes rather than a single chunk with a bigger size which might take more time to load.
module.exports = {
    entry: {
        file1: './src/file1.js',
        file2: './src/file2.js'
    },
    output: {
        path: path.resolve(__dirname, "dist"),
        filename: "[name].[contenthash].bundle.js",
    }
}
The above configuration in webpack.config.js suggests that there are 2 entry points, i.e, file1 and file2 respectively which will have 2 output chunks.
There are a few drawbacks of this approach though.
-
The chunks might contain duplicate modules being used in both the entry points.
-
We cannot achieve dynamic code splitting using this technique and will have to manually specify the entry points in the config file.
Avoid duplications
We can avoid duplications of modules in shared modules by specifying a dependOn property.
module.exports = {
    entry: {
        file1: {
            import: './src/file1.js',
            dependOn: 'shared'
        },
        file2: {
            import: './src/file2.js',
            dependOn: 'shared'
        },
        shared: 'shared-module.js'//can be any module shared between entry files eg: lodash
    },
    output: {
        path: path.resolve(__dirname, "dist"),
        filename: "[name].[contenthash].bundle.js",
    }
}
We can also use a splitChunksPlugin to avoid module duplication and extract all the shared modules into a common chunk or a newly created chunk containing the shared modules.
module.exports = {
    mode: 'development',
    entry: {
        file1: {
            import: './src/file1.js',
            dependOn: 'shared'
        },
        file2: {
            import: './src/file2.js',
            dependOn: 'shared'
        },
        shared: 'shared-module.js'
    },
    output: {
        path: path.resolve(__dirname, "dist"),
        filename: "[name].[contenthash].bundle.js",
    }
    optimization: {
        splitChunks: {
            chunks: 'all',
        },
    },
}
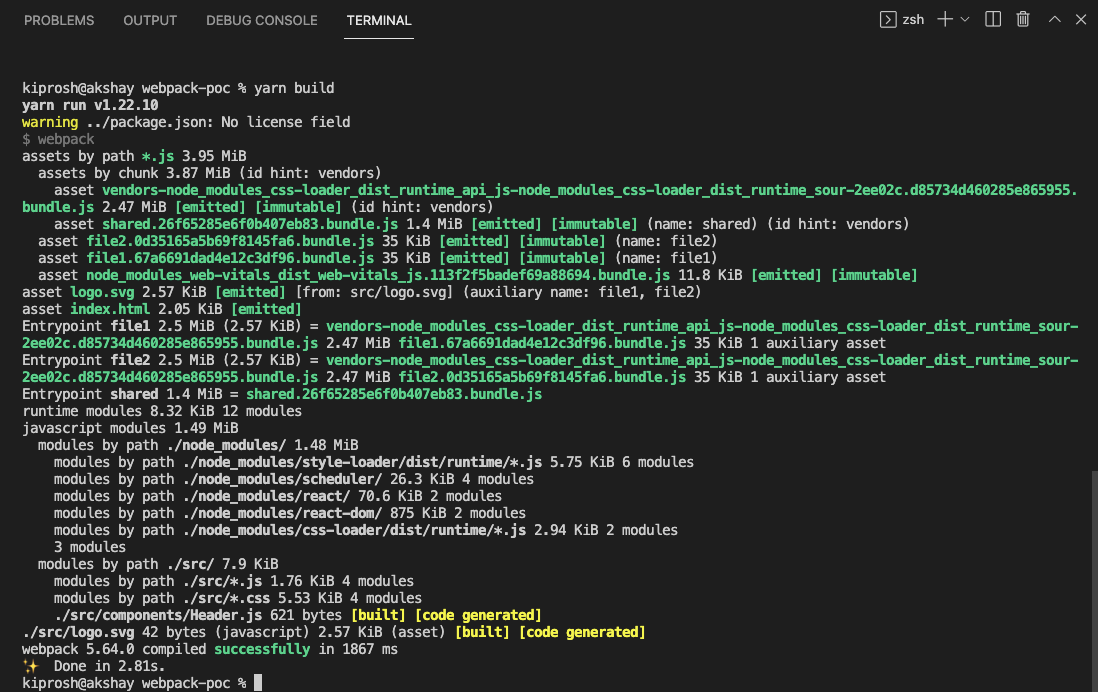
Using this plugin, when we build our project, we can see that there is a separate chunk generated for our shared module. Webpack also provides support for bundle analysis to check up on the modules generated. Here is the Github link to the official analysis tool.
3. Mode
Specifying the mode configuration option tells the webpack to use its built-in optimizations.
There are several options available for mode configuration:
Development
- This mode is essentially used when you are into the development phase of the application.
- Webpack bundles your code, and when there is some error/warning, the stack trace will point to the
bundle.jsfile generated by webpack but will not help specify which file in the bundle is causing the error. - In the
developmentmode webpack provides source maps, which map your compiled code back to the original source code. This helps in easy debugging and increases the speed to fast resolution of bugs/errors in your code. - Below is the config for reference:
module.exports = {
    mode: 'development',
    devtool: 'inline-source-map'
}
Production
- This mode is used to ship the final code for production.
- When we set the mode to
production, we can see a significant drop in the bundle size. - In
productionmode, the minification of your code will be automatically done with the help ofTerserPluginby default. Alternatively, you can also specify a minimizer of your choice by providing it as anoptimization.minimizeroption in the config file. - We can also have source maps enabled in the
productionmode as they help in debugging. We can provide an option fordevtoolto achieve this. We must avoid the use of inline and eval in production mode as they can increase the bundle size which may result in reducing the overall performance. - Below is the config for reference:
module.exports = {
    mode: 'production',
    devtool: 'source-map'
}
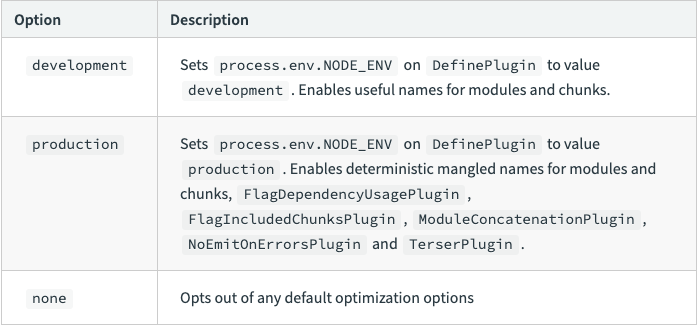
Please refer to the below table to understand what each mode is responsible for:
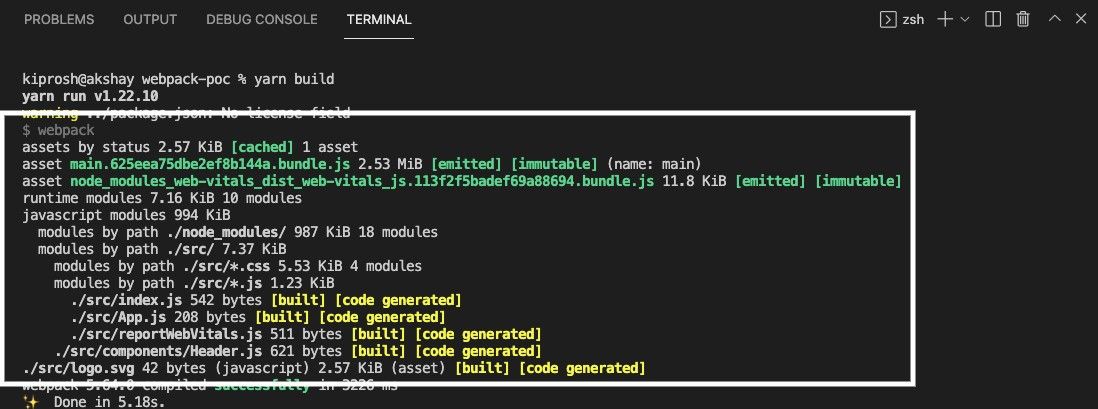
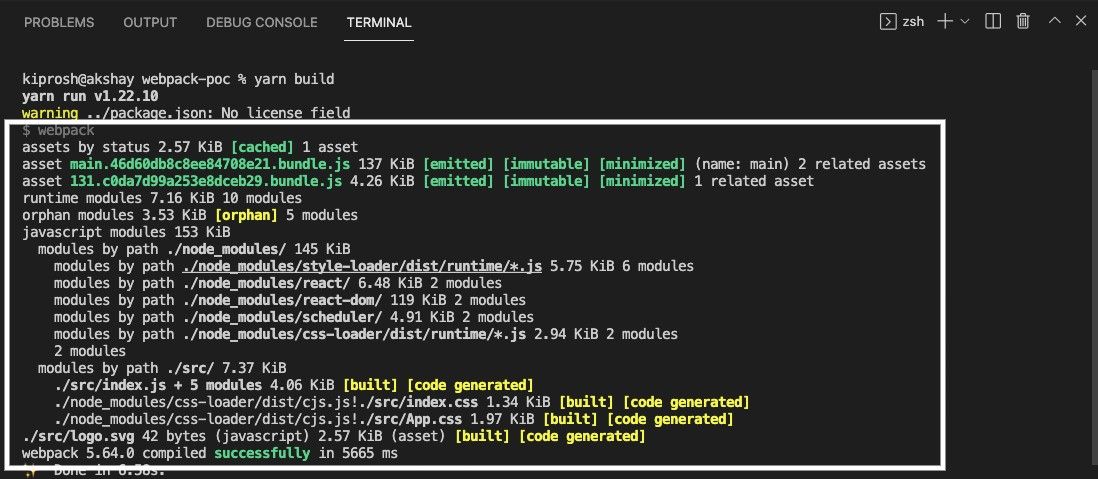
As we can see, the outcome of builds for development and production have a considerable difference. We can even have configurations for both the modes and based on the requirement if the build is for development, or we want to generate a build for production, we can use either of the configs.
I have generated two separate config files for development as well as production mode with the names as webpack.dev.config.js and webpack.prod.config.js with respective configurations as mentioned above.
To use these configs, let us modify our package.json file with the following scripts:
"scripts": {
    "build": "webpack --config webpack.prod.config.js",
    "build-dev": "webpack --config webpack.dev.config.js --hot",
  }
Using the command build will generate production build for us which we can use for deployment purposes, and build-dev will generate a development build.
We can use the configurations mentioned above for caching,code-splitting and modes to improve the overall application performance.