
In this tutorial we will setup react native web app locally and deploy on Render.
Before we start with the react-native-web setup, I assume that you have installed Node.js, Yarn and react-native-cli on your machine.
1. Setup React Native App with Typescript
To create react native app you need to run following command
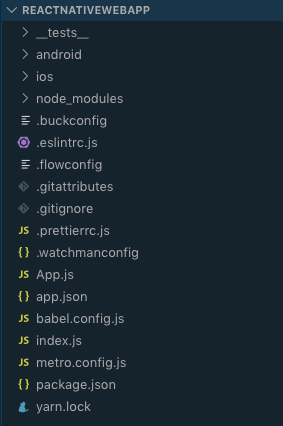
react-native init ReactNativeWebApp
This command will create react native app and your app directory will look like as shown in the following image (image 1.1)
To add typescript to our app first we need to install react-native-typescript-transformer
yarn add --dev react-native-typescript-transformer typescript
Then create a new file named tsconfig.json in your project’s root directory and copy-paste the JSON as shown in following code snippet (snippet 1.1)
Add tslint.json in the project’s root directory and copy-paste the JSON content from the following code snippet (snippet 1.2)
Next rename App.js to App.tsx and add types for react and react native
yarn add --dev @types/react @types/react-native
Final changes of App.tsx shown in the following code snippet (snippet 1.3)
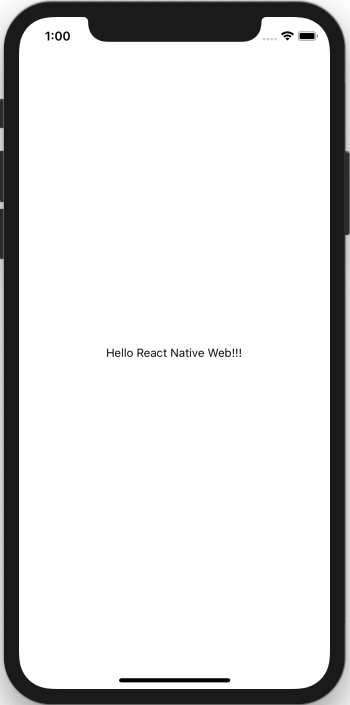
Now run yarn ios or yarn android and you will see screen as shown in following image (image 1.2)
2. Setup React Native Web & Webpack
Add react-dom and react-native-web to the project
yarn add react-dom react-native-webCreate a directory named web in the project’s root directory and add index.html (snippet 1.4) inside the web directory

Add webpack and its configuration inside web directory
To know more about webpack visit https://webpack.js.org/ and to know about webpack-dev-server visit https://webpack.js.org/configuration/dev-server
yarn add --dev webpack webpack-cli webpack-dev-server
To add webpack configuration first we need to create a file with name webpack.config.js inside web directory, then copy-paste content from following snippet (snippet 1.5) into webpack.config.js
We have used html-webpack-plugin, ts-loader and we need to add them to our project before we start development
yarn add --dev html-webpack-plugin ts-loaderNow add index.web.ts to the project’s root directory and copy-paste content from following snippet (snippet 1.6) to index.web.ts
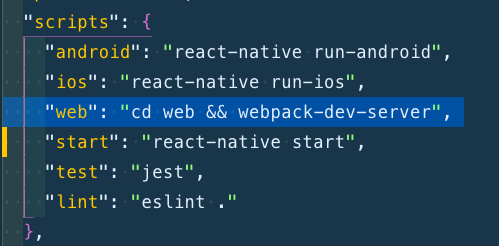
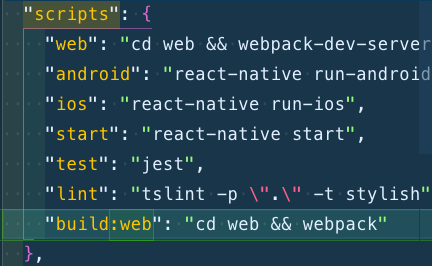
Now add web script command inside package.json as shown in following image (image 1.4)
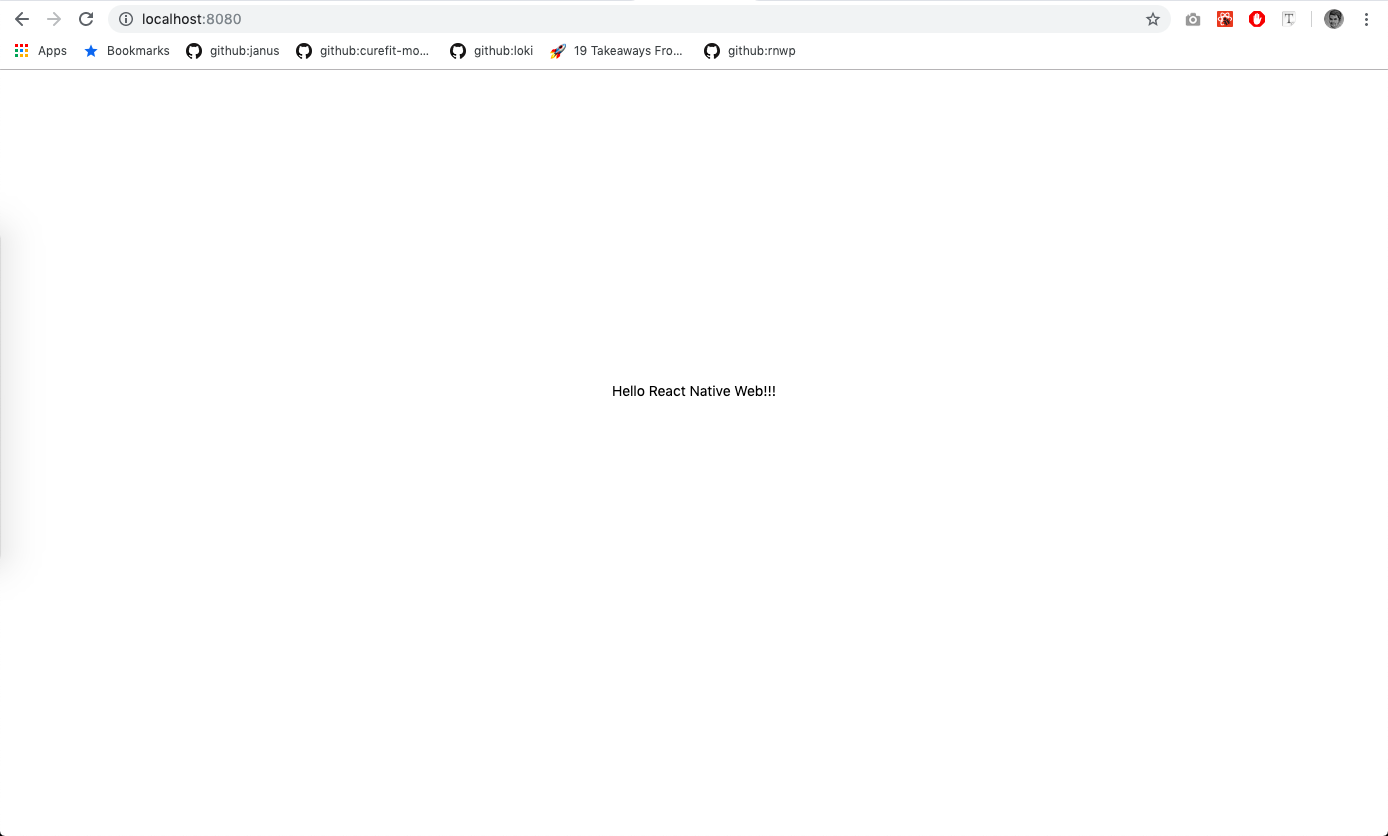
Run yarn web command and visit localhost:8080. You will see a screen as shown in following image (image 1.5)
3. Deploy web app
Add the following script command to package.json and to create a deployable dist source directory.
"build:web": "cd web && webpack"
yarn build:web script commandThen run yarn build:web which will create a new folder named dist with the required files needed to run the web app.
Open .gitignore and then add /dist inside the .gitignore file.
/distWe will deploy the web app on Render cloud platform. To setup continuous deployment follow the below steps:
- Create an account (Render supports only Github/GitLab).
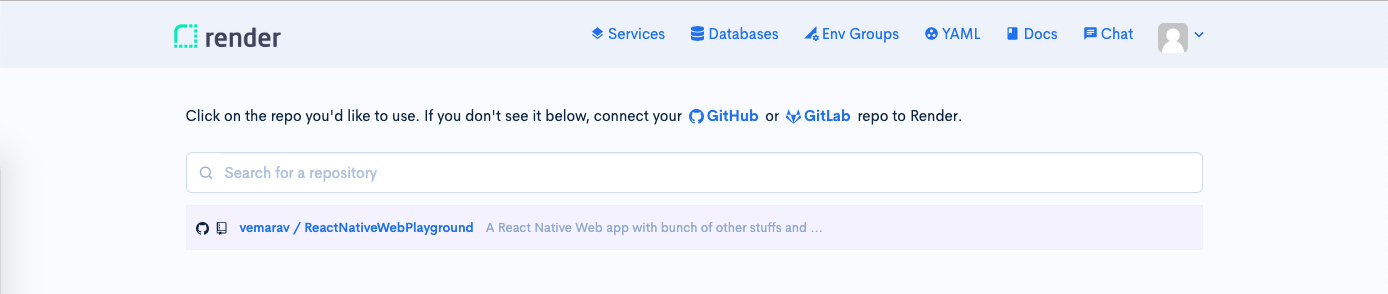
- If you are successfully created an account then you will see a dashboard as shown in following image (image 1.7)

- Now click
New Web Servicebutton and connect with Github and install render on your react native web app repository - Then you will see your app/repository here https://dashboard.render.com/select-repo?type=web
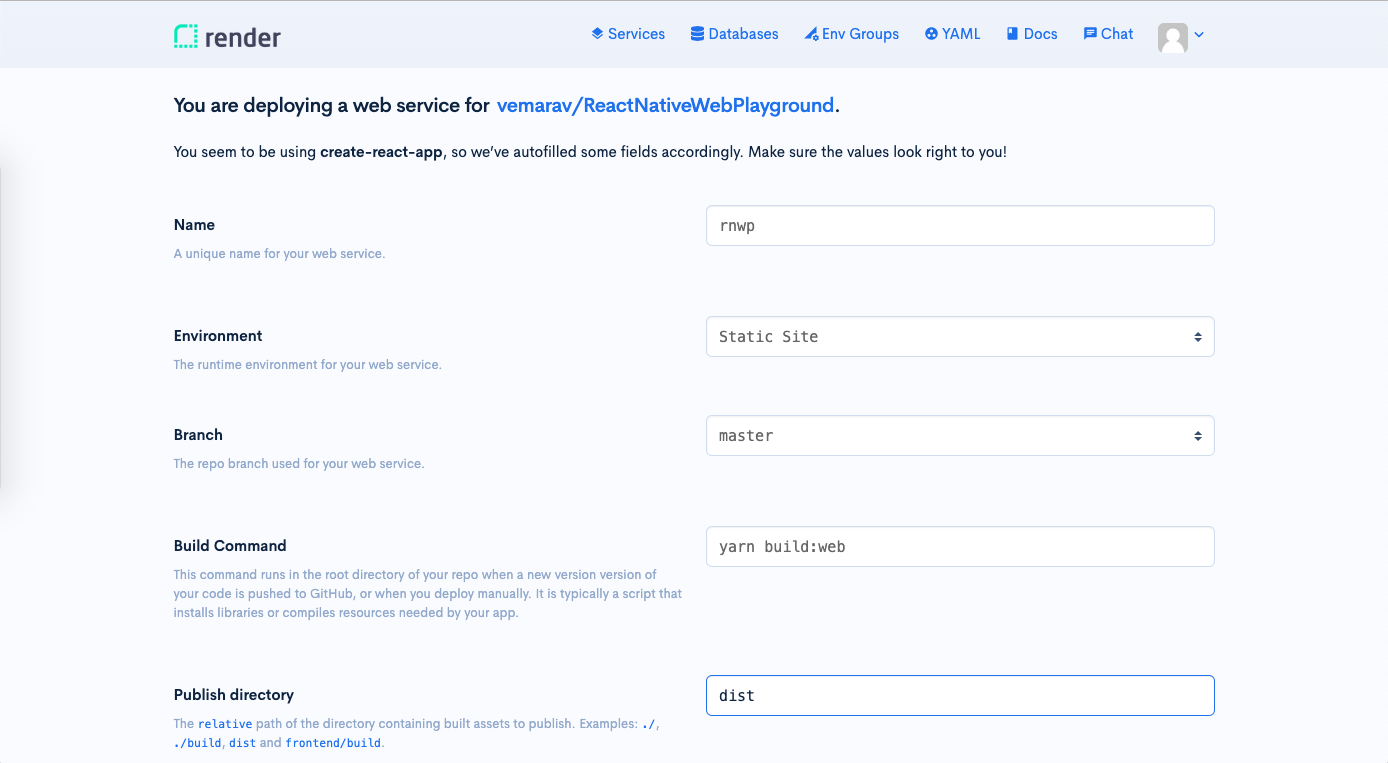
- Select your repo and add following settings shown in image 1.9, except Name, choose different and unique name for your app and then click on create web service
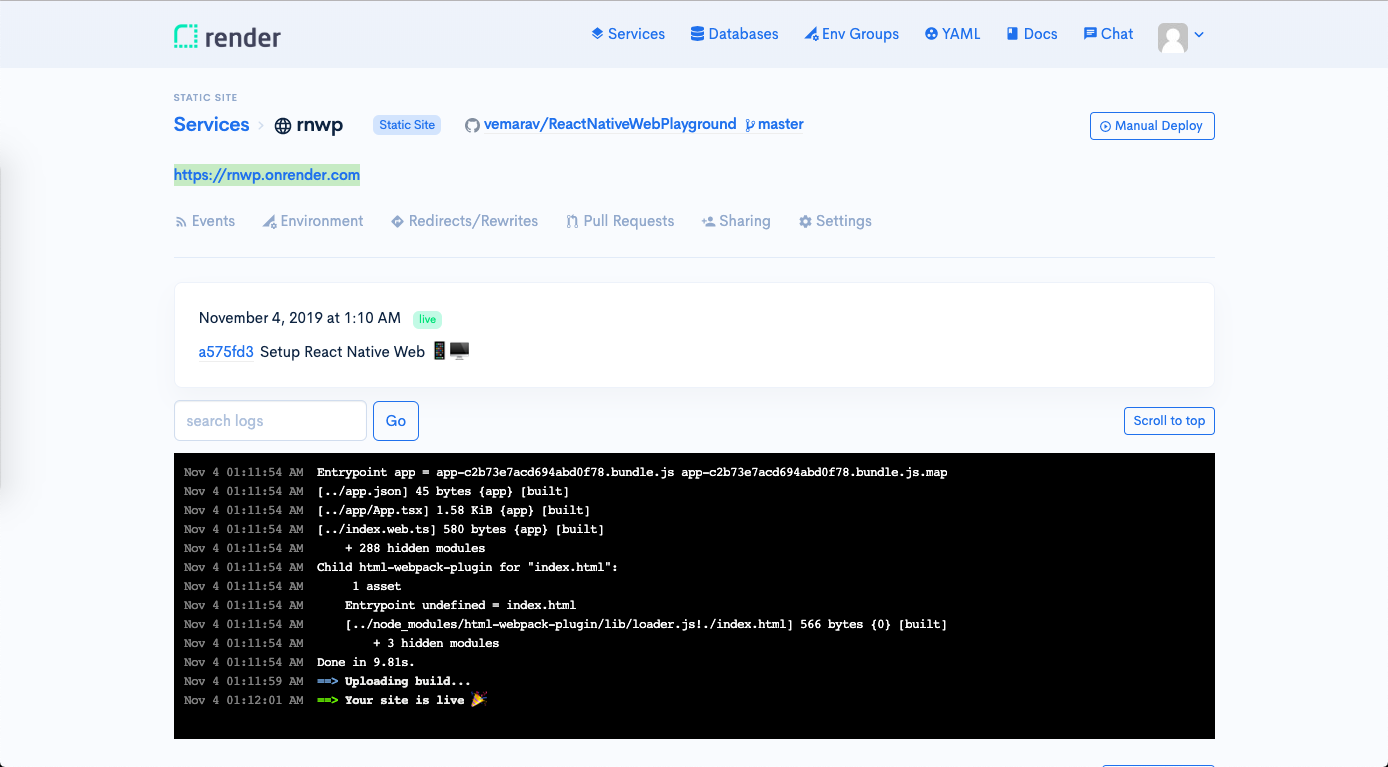
- If everything goes as expected then you can visit your site with the link provided by render, link highlighted in image 1.10
I hope you had successfully setup React Native Web app. If you are curious to learn more then check my repo available at https://github.com/vemarav/ReactNativeWebPlayground