
In recent years, location tracking of products/services provided by businesses has become a vital part for businesses as well as customers as it provides them with live updates.
In one of our health and fitness-based apps, we had a requirement of integrating the map with custom style and track location of the user while performing activities such as running or cycling.
In this blog, we will walk you through steps for integrating Google Maps with custom style and tracking the location of the user using react-native.
Contents:
- Initialize project
- Add react-native-maps and link it
- Load default map
- Customize Google Maps
- Add Geolocation service
- Get current location
- Track location change
Pre-requisites:
- Google Map API key for maps (If you don't have one, refer Get Google Map API Key)
- Basic knowledge of
react-native
So let's get started.
Initialize Project:
Let's create our project by running
react-native init integrating_custom_maps.
We will be using the following dependencies to create our app:
- react (v16.9.0+),
- react-native (v0.61.2+)
- Cocoapods (v1.7.5) (for iOS)
- react-native-maps (v0.26.1)
- react-native-geolocation-service (v3.1.0)
Add react-native-maps and link it:
Next, we add react-native-maps package from Airbnb, which has great support from the community and is the most preferred library for the integration of maps in both Android and iOS environments. In our terminal, we run
npm install react-native-maps --save-exact
Load default map:
Let's first load the default Google map using react-native-maps for iOS and Android.
Enabling Google Maps for iOS using Cocoapods:
- Run
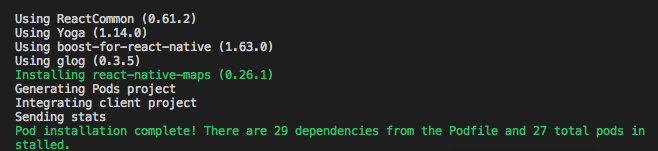
cd ios && pod install
to install react-native-maps dependency for iOS.
- Import
GoogleMapsheader file inAppDelegate.mas follows
#import <GoogleMaps/GoogleMaps.h>
- Copy the Google API key and paste it in
AppDelegate.mfile as follows
@implementation AppDelegate
...

- (BOOL)application:(UIApplication *)application didFinishLaunchingWithOptions:(NSDictionary *)launchOptions
{
+  [GMSServices provideAPIKey:@"_YOUR_API_KEY_"];
...
The [GMSServices provideAPIKey] should be the first call of the method didFinishLaunchingWithOptions().
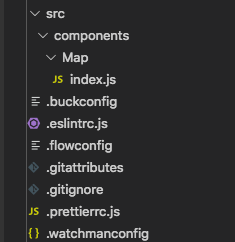
- Next, we create a component called
Mapinroot/src/componentsfolder and import MapView component fromreact-native-maps
import MapView from "react-native-maps";
- Render map in
Mapcomponent with hardcoded values for latitude, longitude, latitudeDelta, and longitudeDelta as follows:
import React from "react";
import { View, Text } from "react-native";
import MapView from "react-native-maps";
export default class Map extends React.Component {
  render() {
    return (
      <View style={{ flex: 1 }}>
        <MapView
          style={{ flex: 1 }}
          initialRegion={{
            latitude: 37.78825,
            longitude: -122.4324,
            latitudeDelta: 0.0922,
            longitudeDelta: 0.0421
          }}></MapView>
      </View>
    );
  }
}
and in App.js add Map component as follows:
import React from "react";
import { View } from "react-native";
import Map from "./src/components/Map";

const App = () => {
  return (
    <View style={{ flex: 1 }}>
      <Map />
    </View>
  );
};

export default App;
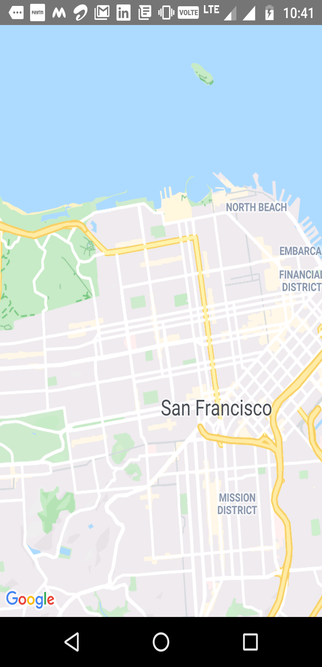
On running command react-native run-ios we get the following output:

Enabling Google Maps for Android:
For enabling Google Maps on Android we just need few steps as most of the job is done by auto-linking feature.
- Add
googlePlayServicesVersion = "16.0.0"andandroidMapsUtilsVersion = "0.5+"in ./android/build.gradle file as follows:
  ...
  buildscript {
      ext {
         ...
         googlePlayServicesVersion = "16.0.0"
         androidMapsUtilsVersion = "0.5+"

      }
    ...
- Add meta tag with your API key in
AndroidManifest.xmlas follows:
 <application
      android:name=".MainApplication"
      android:label="@string/app_name"
      android:icon="@mipmap/ic_launcher"
      android:roundIcon="@mipmap/ic_launcher_round"
      android:allowBackup="false"
      android:theme="@style/AppTheme">
      ...
      <meta-data
            android:name="com.google.android.geo.API_KEY"
            android:value="YOUR_API_KEY"/>
    </application>
That's all. Run the project with react-native run-android and we have the map on our screen.
If you still find yourself stuck somewhere, refer Installation Instructions from react-native-maps official docs.
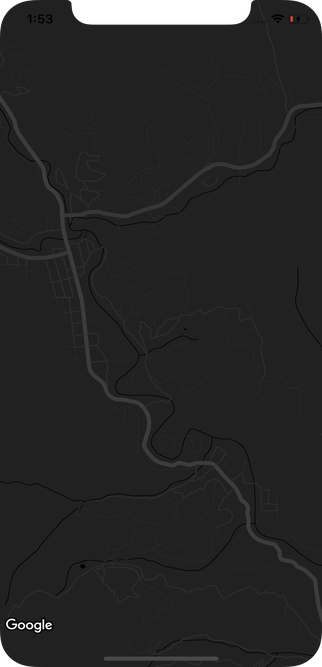
Customize Google Maps:
Now that we have loaded the default map, let's customize our maps. Google has it's own Google Maps Platform Styling Wizard which helps us in customization of maps.
- Go to Google Maps Platform Styling Wizard and click on CREATE A STYLE button
- Select a theme
- Click on More Options to add more customizations. Play around with different options and customize according to your needs.
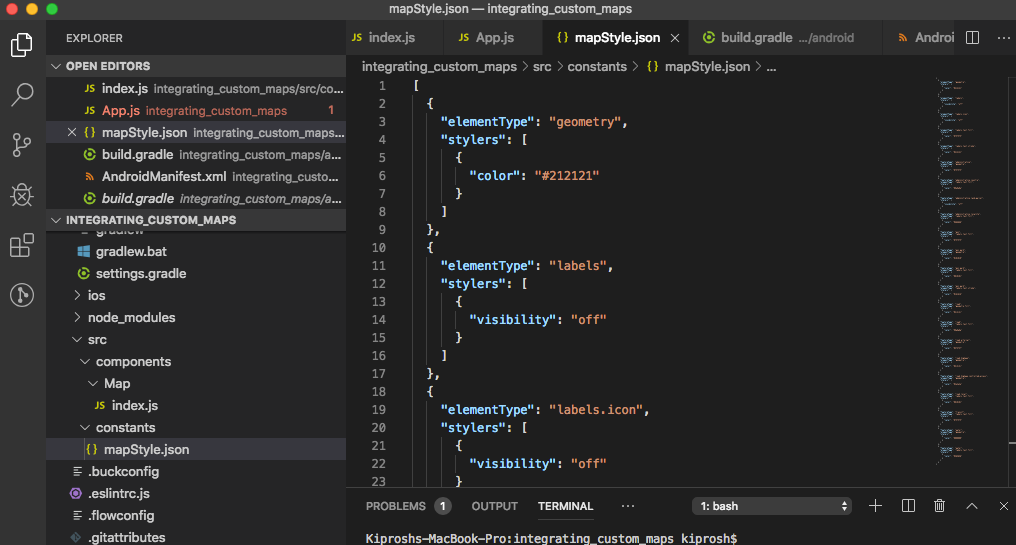
- After having done with customizations, click on Finish. This generates JSON for our style. Copy this JSON.
- Create a folder and name it as
constantsin src. - Create a file called mapStyle.json and paste the JSON of style in it.
-
Import
PROVIDER_GOOGLEas a constant fromreact-native-maps. This is needed for iOS.import MapView, { PROVIDER_GOOGLE } from "react-native-maps"; -
Import
mapStyleas a constant fromconstantsfolder.import { mapStyle } from "../../constants/mapStyle"; -
Now, update the
MapViewcomponent as follows:... <MapView provider={PROVIDER_GOOGLE} customMapStyle={mapStyle} style={{flex: 1}} initialRegion={{ latitude: 37.78825, longitude: -122.4324, latitudeDelta: 0.0922, longitudeDelta: 0.0421 }}> ... -
Run the project.
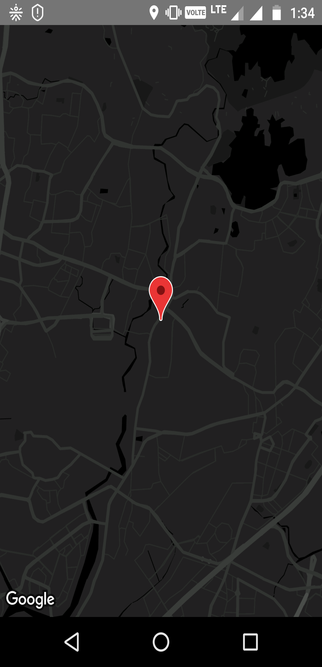
Add Geolocation service:
Before tracking the user location, let's add a Marker which will help us know where we are on this planet.
To know our location, we add react-native-geolocation-service package by running
npm install react-native-geolocation-service
- After installing, for iOS run
cd ios && pod install
Autolinking will take care of installing dependencies in Android.
-
For Android: Allow the app to access location by modifying
AndroidManifest.xmlas follows:... <uses-permission android:name="android.permission.ACCESS_COARSE_LOCATION"/> <uses-permission android:name="android.permission.ACCESS_FINE_LOCATION" /> <application android:name=".MainApplication" android:label="@string/app_name" android:icon="@mipmap/ic_launcher" android:roundIcon="@mipmap/ic_launcher_round" android:allowBackup="false" android:theme="@style/AppTheme"> ...
Get current location:
Let's get our current position on the map. For this,
-
Import Geolocation service in
Mapcomponent.import Geolocation from "react-native-geolocation-service"; -
Add state variables for latitude, longitude and position coordinates array in
Mapcomponent.constructor(props) { super(props); this.state = { latitude: 0, longitude: 0, coordinates: [], }; } -
In
componentDidMount(), listen togetCurrentPosition()event as follows and set state variables.Geolocation.getCurrentPosition( position => { this.setState({ latitude: position.coords.latitude, longitude: position.coords.longitude, coordinates: this.state.coordinates.concat({ latitude: position.coords.latitude, longitude: position.coords.longitude }) }); }, error => { Alert.alert(error.message.toString()); }, { showLocationDialog: true, enableHighAccuracy: true, timeout: 20000, maximumAge: 0 } );
getCurrentPosition() takes success callback, error callback and options as parameters. You can refer to official docs and configure accordingly.
-
Import Marker as a constant from
react-native-mapsimport MapView, { PROVIDER_GOOGLE, Marker } from "react-native-maps"; -
Change
initialRegionprop of MapView toregionand add a marker for your location with coordinates prop set to current position's latitude and longitude.... <MapView provider={PROVIDER_GOOGLE} customMapStyle={mapStyle} style={{flex: 1}} region={{ latitude: this.state.latitude, longitude: this.state.longitude, latitudeDelta: 0.0922, longitudeDelta: 0.0421, }}> <Marker coordinate={{ latitude: this.state.latitude, longitude: this.state.longitude, }}> </Marker> </MapView> ...
- Finally, we can find ourselves on the map.
Track location change:
To track the change of location on the map, we have to listen to the watchPosition event.
-
Add a handler for the
watchPositionevent and update the coordinates array as followsGeolocation.watchPosition( position => { this.setState({ latitude: position.coords.latitude, longitude: position.coords.longitude, coordinates: this.state.coordinates.concat({ latitude: position.coords.latitude, longitude: position.coords.longitude }) }); }, error => { console.log(error); }, { showLocationDialog: true, enableHighAccuracy: true, timeout: 20000, maximumAge: 0, distanceFilter: 0 } ); -
Next, we import Polyline as constant from
react-native-mapsinMapcomponentimport MapView, { Polyline, PROVIDER_GOOGLE, Marker } from "react-native-maps";
and add it as follows
...
<MapView>
    ...
    <Polyline
      coordinates={this.state.coordinates}
      strokeColor="#bf8221"
      strokeColors={[ '#bf8221', '#ffe066', '#ffe066', '#ffe066', '#ffe066', ]}
      strokeWidth={3}
    />
</MapView>
...
This will help us locate our changed position on the map and also give us a feel of our location being tracked. Now, whenever our GPS senses change in location, the handler of the watchPosition event will be called which will give us current coordinates. These current coordinates will be concatenated to coordinates array of the state which is provided as coordinates props to Polyline. This will create a tracker on the map for our location.
You can clone this Github repo and experiment with the same.
Thank you for reading.